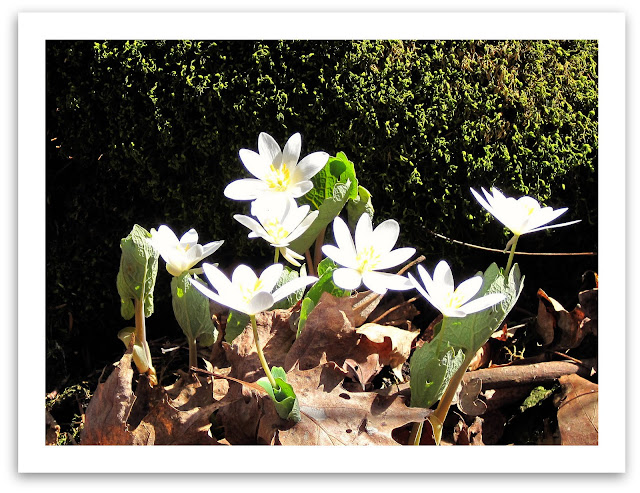
I think Picnik, the on-line photo editing site, is the best thing since sliced bread. It really is amazing what it can do to improve your photos and I've only been using the free section of the website! Before I put any photos up on the blog, I first put them through Picnik. I'm sure some of you have discovered Picnik already, or use similar programs, but for those of you who have not found Picnik, I thought I would introduce you to it.
Here's a basic overview of what you can do (I'll demonstrate with some of my photos as we go along).
First go to the website http://www.picnik.com/app#/home. When you are on the "Home" tab, you can upload photos from your computer.
You will automatically be on the "Edit" tab when a photo has been up-loaded. The first thing I always do is click "Auto-fix" on the left side. I would say that it improves about 90% of the photos. Some don't need it and others it makes them worse by changing the colours from what they should be. If it makes the photo look worse, then you can always click "undo" over on the right.
The next thing I do is decide if the photo needs to be cropped or rotated. The rotate function is brilliant if you are a bit cock-eyed when you take photos and the horizon isn't level (tell me it happens to you too).
Then I decide if I want to adjust the exposure or colour. You can also re-size the photo and get rid of red-eye.
Then I sharpen the photo. Initially, I was sliding the sharpen button all the way over - I mean, who doesn't want a sharp photo - but my daughter told me that you can over-sharpen photos. Who knew? If you are getting white lines around things in your picture, you have over-sharpened it. Now I usually do about 1/4 or 1/3 of the way along the slider and the effect is much better. I also zoom in to check how sharp it looks.
Just remember that if at any point you don't like how you changed the photo you can just press "undo" on the right side.
Once you have done the basics to make the photo purty, you can do more creative things with Picnik. When you click on the "Edit" tab along the top you can add text, put a frame around the photo, do different effects, and add stickers. There are both free features and some that are labelled "premium" which you have to pay for. Although I haven't paid for a subscription yet, I find there are still lots of features that are fun to use for free. I may up-grade some day as it is still very reasonable.
My favourite things to use in the "Edit" section is putting frames around photos. It was literally months before I discovered that you can combine frames for an even more interesting effect. For example, I have started using a white border around my photos, followed by a drop shadow. You have to do the frames one at a time and press "apply" after each one. I used that effect for the mosaics at the beginning of this post.
When you are finished with editing your photo you will need to save it. I just change the name by adding a letter after the number so I know which ones I have edited (and how many edits I have done by which letter I am on).
The other feature, I have used a little bit, is under the "Library" tab. Here you can make small collages. To do so, you need to click on the "start" button, that has a little ladybug beside it, on the left side. Then select "Make a Collage". Select the arrangement of Basic collages that suits the number of photos you want to use. Then up-load your photos (you can only do 5 photos at a time if you are using the free version) and drag them in to the blank collage frame. The collage frame can be altered in size, dimension, and colour and size of frame. Then all you have to do is save it when it is finished. It took me several months to discover that you can make a collage, save it, and then go back to the frames and put a frame around your whole collage.
It really is a picnic using Picnik (you knew I had to say it).


.jpg)


.jpg)


Hi Grace, thanks for sharing about Picnik! I have never heard of it so I am going to go and play around! xx
ReplyDeleteThat was a great post Grace. I use Picnik but have started to use photoshop now which is far more complicated as far as I'm concerned...may have to rethink!!
ReplyDeleteThanks for this Grace!!
ReplyDeleteI may try that...I need something a little more sophisticated than iPhoto.
ReplyDeleteThanks for the tip!
Thanks Grace! It looks like a good site to give a try.
ReplyDeleteJoy
I can't thank you enough for this tip Grace! I get so frustrated with my photos ...I am going to try this.
ReplyDeleteThanks for the post. I need all the help I can get!
ReplyDeleteI have been to the Picnik site but haven't had a minute to use it yet. Thank you for the tips!
ReplyDeleteI love using picnik, but I find it slow to load when saving. Do you?
ReplyDeleteI am soo happy I found your blog. You provide so much helpful information for us "newbies". Thanks!!
ReplyDelete